This lesson will show you how to create your first C# project in Visual Studio. Like most programming tutorials, the first project will be a typical “Hello World” example showing the simplest possible application that can be written with the C# language.
Before going further, I would like to also point out that all example code in this tutorial series can be found in the C# tutorial repository on GitHub. Each lesson will also provide a corresponding solution in this repository so that you can follow along without having to copy / paste all the source code if that is the way you would prefer to learn. Many people will get more out of the lessons from typing the lessons themselves in to Visual Studio. If that is the case, the repository can be a useful reference to double check your work.
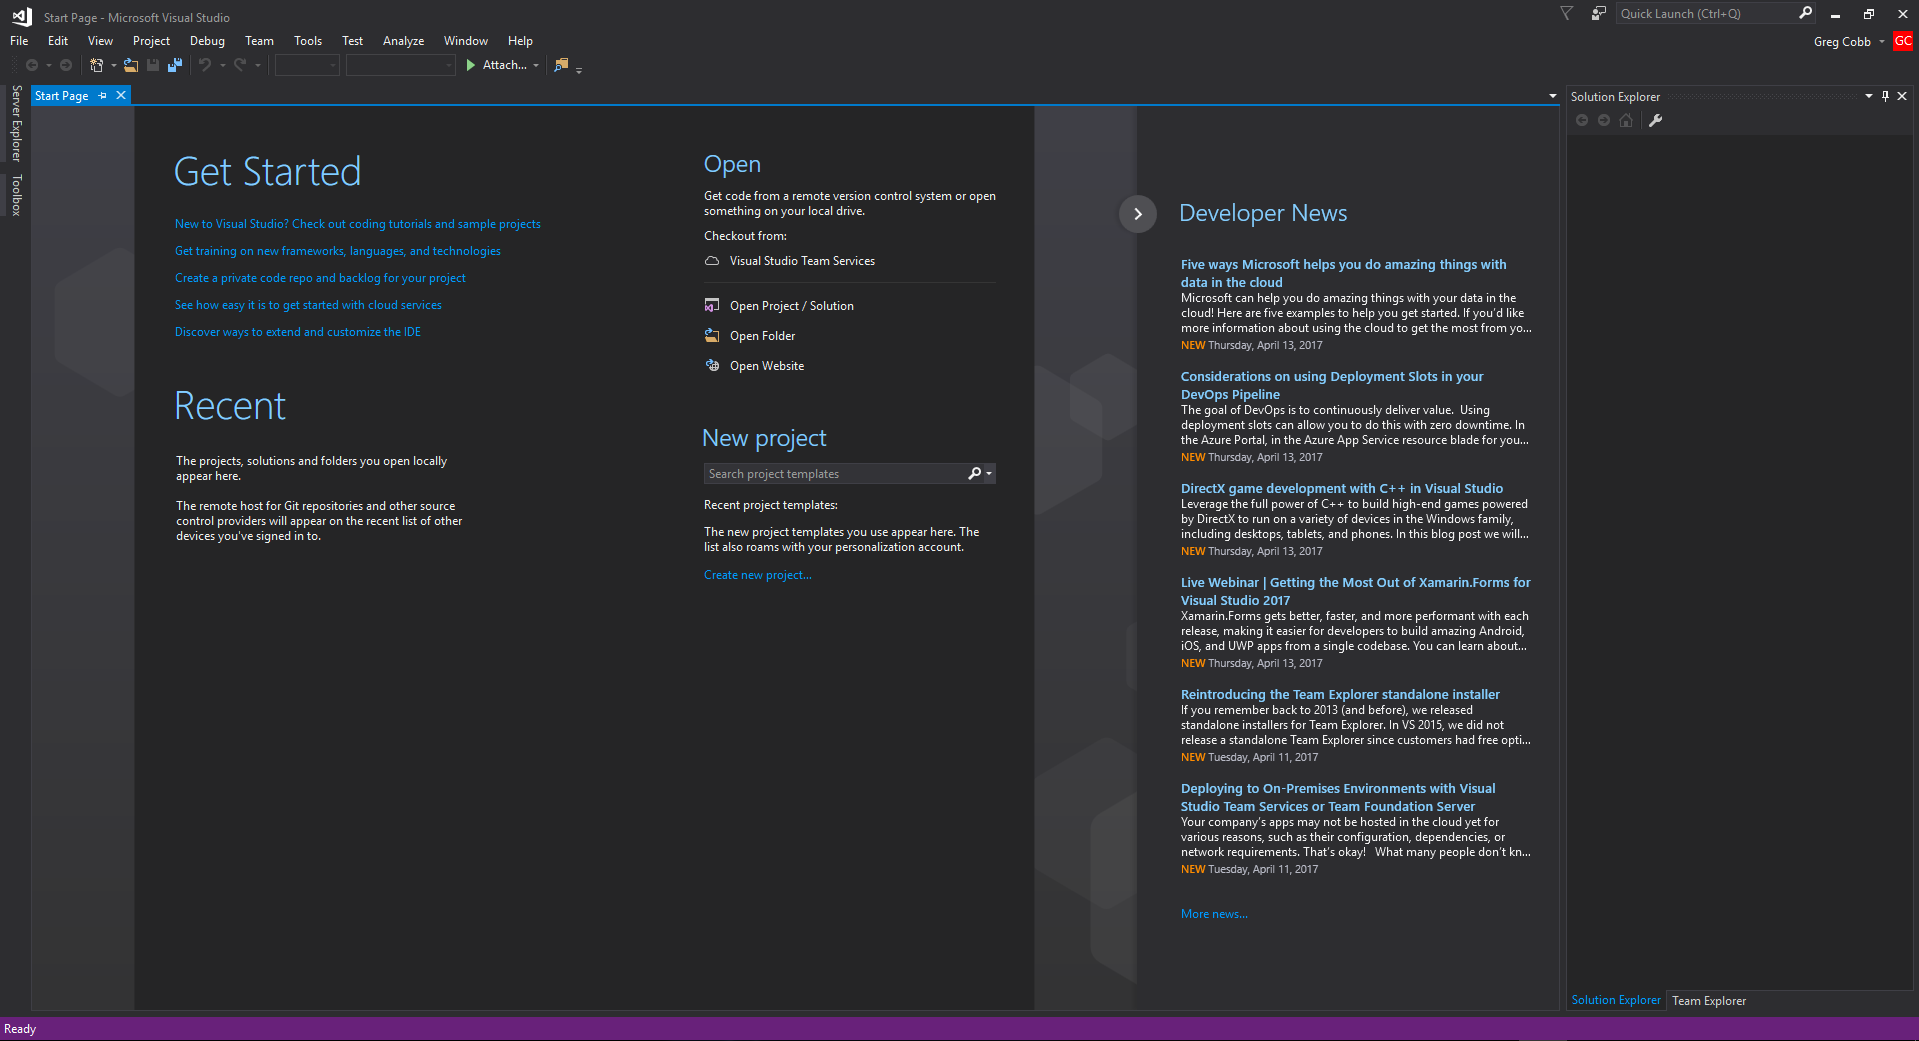
It is time to dive in and create your first C# project. If you have not launched Visual Studio yet, go ahead and do so now. Once Visual Studio is started you will see the “Start Page”. The Start Page provides helpful links to beginners along up to date news about Visual Studio and the .Net ecosystem.
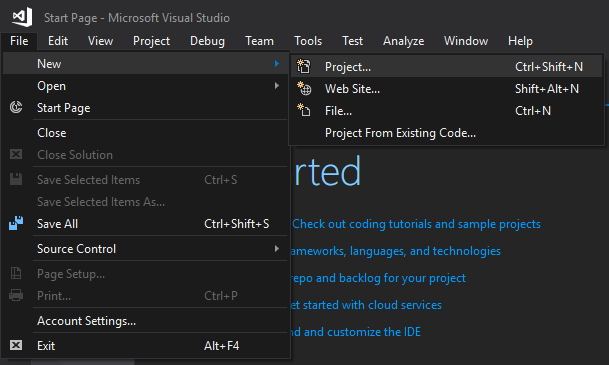
To get started with your first C# project click the File -> New -> Project menu item.
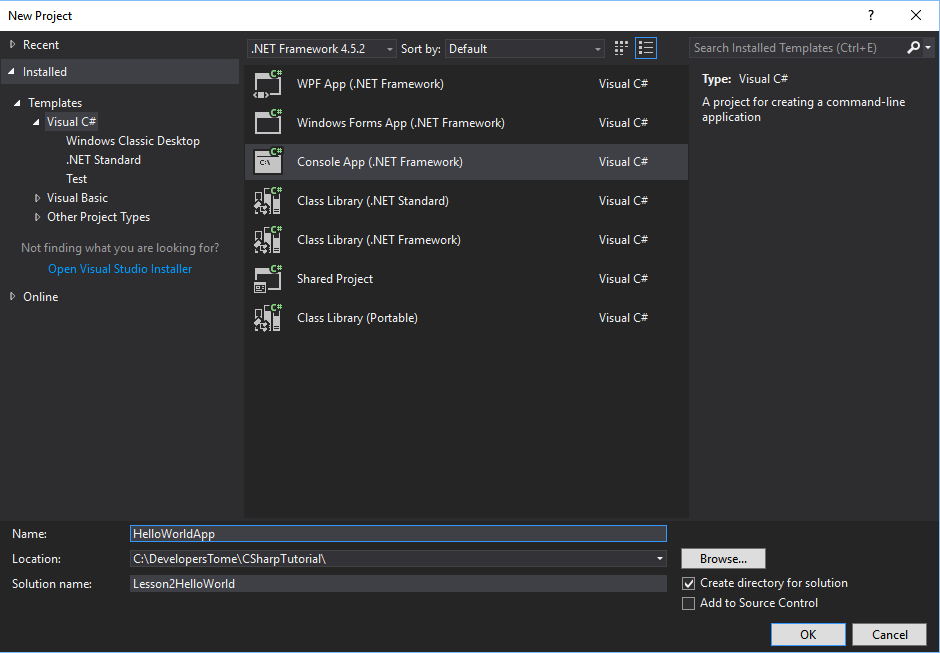
Now the “New Project” window will appear. This screen allows you to choose which project template you would like to create your project from. Since we are developing using the C# language you will want to make sure “Visual C#” is selected in the left hand panel. This will show all the available C# project templates. For our first project we will be developing a console application. To do so, select “Console App (.NET Framework)” from the list of project templates. In the bottom of this window you will be able to choose the project name, the solution name, and the location where the source code files will be stored. When you want to create a new C# application or library, that application or library will be represented as a project. A solution is way to organize a collection of related applications and libraries together in one place. Before moving on I would like to point out two other useful options in this window. At the top you will see “.NET Framework 4.5.2”. This is not something you need to worry about right now, but in the future if you want to target a different version of the .NET Framework this is one of the places you can change that. Another thing worth pointing out is the “Create directory for solution” checkbox at the bottom. This will create a sub-directory using the provided solution name under the directory provided in the Location field. For organizational purposes, I would recommend sticking with this pattern. When you are ready to create your project click the “OK” button.
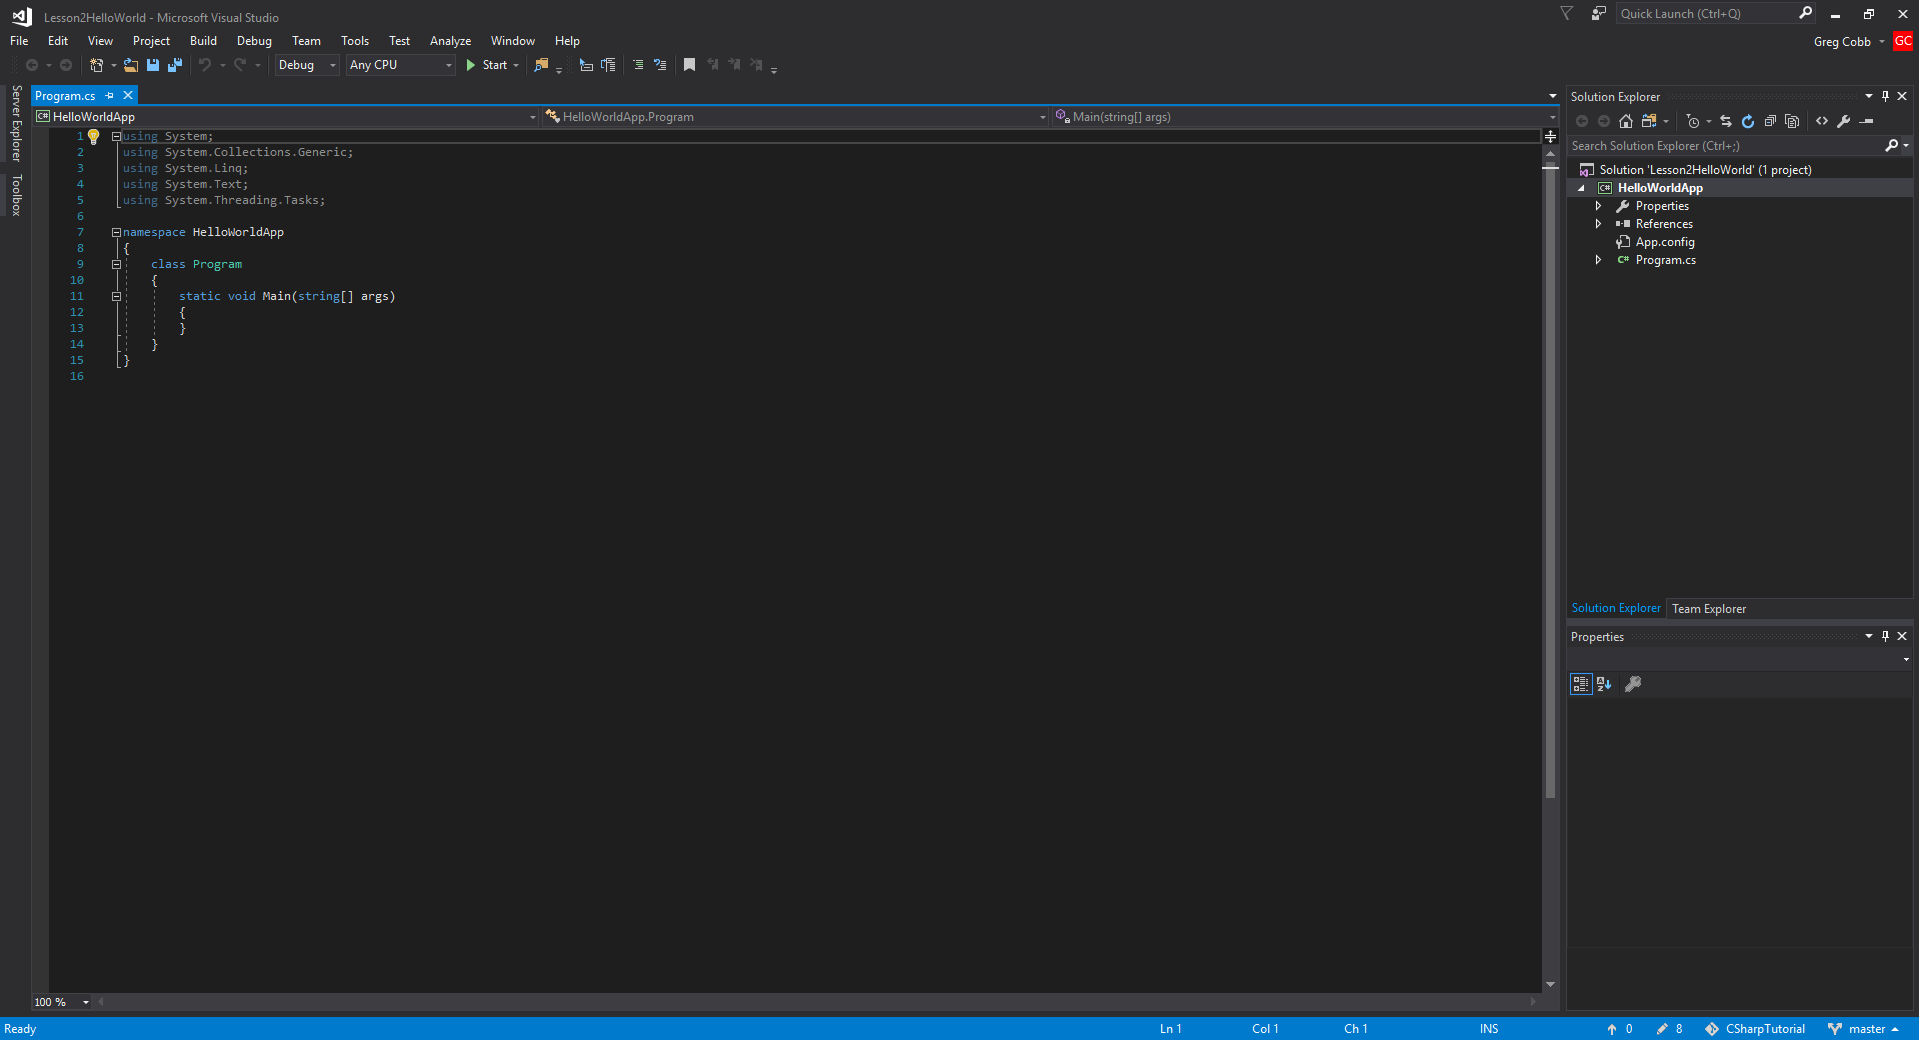
Visual Studio will take a moment to create your project. Once your project has been created you will be see the solution loaded in to Visual Studio. Before we get to writing the code for your first application, I would like to take a moment to explain what you are seeing when a new project is created. In the main portion of the window you will see the Program.cs file is visible. As you open up source files they will appear in this area as a series of tabs. On the right will see two panels: the Solution Explorer and the Properties panel. For now you can ignore the Properties panel, but the Solution Explorer is a very useful tool for navigating around your solution. In our simple scenario we see our solution called Lesson2HelloWorld which contains one project called HelloWorldApp. Under the HelloWorldApp project you will see the Program.cs file which is already opened. As you add more source code files they will appear within the project inside the Solution Explorer. You may ignore the other items currently listed under the project as they will be covered in later lessons.
When you create a project with the Console App template, Visual Studio will also create a Program.cs file. In this case of our very simple HelloWorldApp application, this will be the only file we will need to edit. Before we start editing this file to create our first application, I would like to first get in to the anatomy of a C# source code file, which is a file with the extension “.cs”.
Anatomy of a .cs file
Our Example
To understand how a C# file is laid out we can look at the Program.cs which we will be editing in a moment.
using System;
using System.Collections.Generic;
using System.Linq;
using System.Text;
using System.Threading.Tasks;

namespace HelloWorldApp
{
    class Program
    {
        static void Main(string[] args)
        {
        }
    }
}
Namespaces
Let’s look at the line that says like the following:
namespace HelloWorldAppThis line defines the namespace that all of the code in this file will be organized in. A namespace is a collection of what we call types. We won’t get into detail about what a type is at this time, but just know that the namespace is how you organize the types that you create. This line tells the C# compiler that all the code in this file will be in the HelloWorldApp namespace. By default, C# files created in Visual Studio will be in a namespace named after the name of the project, though if you like you can tell Visual Studio to use a different namespace for the default than your project name. When you create a folder inside your project, by convention all C# files created in that folder will have the folder name appended to default namespace. So if you created a folder called “Models” inside this project for example, all C# files in this folder would default to use the HelloWorldApp.Models namespace to hold their code. This is very helpful when organizing a large number of source code files and I tend to stick to using the default convention because of this even though you are allowed to assign the code in your file to whatever namespace you like. The “{” below this line and the “}” at the end of the file on line 15 tell the compiler that everything between these brackets is in the HelloWorldApp namespace.
namespace HelloWorldApp
{
    //All code here is in the HelloWorldApp namespace
}
Type Definitions
As stated above, inside the namespace is a collection of types. Our Program.cs file contains one type called Program. There are a number of different kinds of types in C#, but the most basic kind of type is a class which is what our Program class happens to be. Again, we won’t get in to what a class is quite yet, but just know that when we want to define a class we can do so by typing something like the following code inside of our namespace declaration:
class Program
{
    //All code such as the methods, fields, and properties for the class "Program"
    //will go here
}
Before moving on, I want to note that while you don’t have to name the .cs file after the type you are defining, that is the standard convention and I would recommend sticking to that convention for organizational purposes. It is also standard practice to restrict yourself to creating a separate file for each type rather that putting multiple types in one file, which is is something that I would also recommend. Both of these conventions will help you in the future when your projects are made up of many types (i.e. classes) so that you can quickly find the code that corresponds to each type.
Methods
There are a number of different kinds of code that can go in to a class, but certainly one of the most important kinds are methods. A method is a piece of code that may be executed to perform a certain operation. We don’t need to get in to all the details of what makes up a method, but note in this example we have a class with a single method called “Main”. For now you may ignore the rest of the method definition (static, void, etc.) as that will be for a later discussion.
static void Main(string[] args)
{
    //All the code code for the method goes here
}
References
You may have noticed that when discussing the makeup of a .cs file that we ignored the first 5 lines of the file, all of which started with the word using. These are what you call using statements. They are the different namespaces that we say are needed by this file. While technically nothing yet specified in this file requires any of these 5 namespaces, these 5 are listed at the top of each .cs file generated by Visual Studio because they are commonly used by much of the code you will write and they are referenced with using statements by default just as a nicety to aid rapid development. You do not need to add a using statement when your class requires code from the same namespace that it is already in, but all other required namespaces should be listed here.
using System;
using System.Collections.Generic;
using System.Linq;
using System.Text;
using System.Threading.Tasks;
Time To Say Hello
To wrap up how our Program.cs file is currently setup, we have specified that we have a class called Program inside of the HelloWorldApp namespace which has one method called Main. It wouldn’t be a true “HelloWorld” application without saying hello so let’s do that! In a console application, to write text to the screen (a.k.a. the console) we can use the WriteLine method on the Console class. We will add the following line inside of our Main method. This line tells the program to execute the WriteLine method with the string “Hello World!” for the parameter, which causes the application to output “Hello World!” to the screen.
Console.WriteLine("Hello World!");When this Main method is completed the application will close. To prevent your application from closing immediately, we can additionally add the following line which will wait for the user to press any key before continuing.
Console.ReadKey();With those two additional lines added to our Main method, our Program.cs file should look like the following:
using System;
using System.Collections.Generic;
using System.Linq;
using System.Text;
using System.Threading.Tasks;

namespace HelloWorldApp
{
    class Program
    {
        static void Main(string[] args)
        {
            Console.WriteLine("Hello World!");
            Console.ReadKey();
        }
    }
}
Before continuing, I should point out that our Main method is special. Every C# application must have exactly one entrypoint. The entrypoint is the method that is called when the application first starts and when this method completes then the application will be closed. By convention, the entrypoint is always a static method with the name Main and can be placed in any class in your project. It is not required that you call the class that contains the Main method Program, this is just the way the console application template does it. When you compile your console application, the C# compiler will search through your source code for this Main method and it will fail to compile if it does not find exactly one of these methods because this method is needed for your application to start.
Run It
Now all you have left to do is press the Start button ( ) to start debugging your application. This will cause Visual Studio to compile your application and then run it. As expected, when the application runs it outputs “Hello World!” to the screen and then waits until you press a key before exiting.
Hello World!Bonus Material: Visual Studio quick actions (a.k.a. refactoring suggestions)
You may notice that the first using directive is highlighted with bright colors while the subsequent 4 using directives have a duller coloring. Additionally if you click one of the using directives you will notice a light bulb on the left-hand side of the editor window. This is trying to hint to you that there is a refactoring suggestion available.
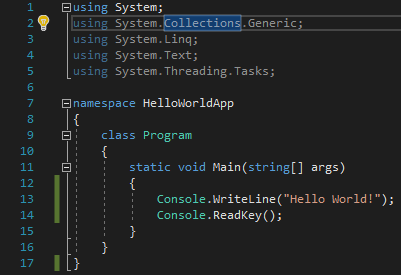
This hint will instead show up near your cursor if you move your mouse over one of these using directives that is shaded with the duller colors.
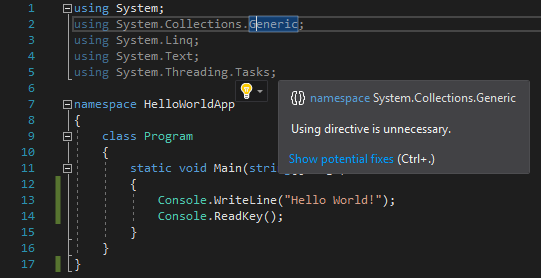
If you click on this light bulb ( ) icon or press “Ctrl+.” you will presented with the suggestion that you may remove unnecessary using directives. It shows the following preview of the suggestion which tells you that it will keep using System; while removing the remaining using directives because they are not necessary for your code to function properly.
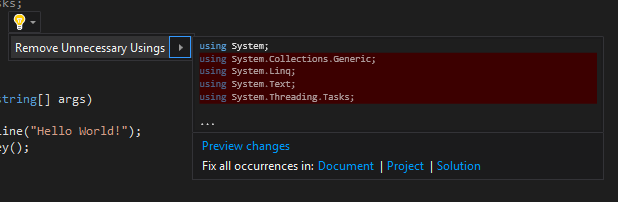
By clicking on the “Remove Unnecessary Usings” button or hitting the Enter key, Visual Studio will perform this suggested refactoring for you and reduce your program to the following code:
using System;

namespace HelloWorldApp
{
    class Program
    {
        static void Main(string[] args)
        {
            Console.WriteLine("Hello World!");
            Console.ReadKey();
        }
    }
}
While the default .cs file template added a number of using directives, our code only made use of the using System; reference, which was required because the Console class is located in the System namespace. It is a good rule of thumb to keep a look out for refactoring suggestions, always presented with the light bulb () icon, and seeing what Visual Studio suggests. These are often worthy suggestions that reduce clutter and add clarity to your source code. They are even sometimes a good way to learn something you did not yet know.
Next – C# Lesson 3: Data Types and Variables (Coming soon)⇒