WordPress: How to setup your WordPress website
Overview
Why would you want to create a WordPress website? WordPress is a content management system, also known as a CMS, that allows you to easily create a website. Once your WordPress website is up and running, you can search the vast catalog of free or commercial themes to get a good looking website going very quickly. While many themes are highly customizable, if having a completely customized website where you have full control over every aspect of how it looks and operates is what you are after, you have the ability to build a custom theme of your own.
Turnkey or Custom
Ok, so you know WordPress can help you to create a website, but maybe you have already learned HTML, CSS, and JavaScript and you are wondering why you should bother with WordPress. CMS software like WordPress allows you easily add and edit the content on your site with a WYSIWYG editor rather than manually adding content through HTML. So if you happen to go the route of creating a custom look for your website, with a CMS like WordPress you can setup your layout once and then add and edit content on your site without having keep repeating HTML template for each page. This process also allows you to modify the look and feel of your website at a later date while keeping all your content intact.
Why WordPress
And finally why choose WordPress specifically? WordPress is the most popular CMS out there today, which means there is a huge community around this software creating plugins and themes. If you get stuck, there are sure to be plenty of tutorials, blogs, or articles available to solve whatever problem you might have.
Prerequisites
For this particular tutorial blog post I am going to be installing WordPress on a Ubuntu 16.04 Linux server hosted using Amazon EC2. You are free to choose to host your website on Azure, Digital Ocean, or Google Cloud Platform as well as many others or if you are just messing around feel free to install it on a local virtual machine or on a spare computer you have at home. You also do not have to use Ubuntu in particular, but this tutorial will be much more helpful to you if you are using Ubuntu or other Debian variants.
Getting Started
The first thing you need to do to setup a WordPress website is install the LAMP stack. LAMP stands for Linux Apache MySQL, and PHP. For the purposes of this tutorial I am assuming you already have the ‘L’ in LAMP setup (i.e. your Ubuntu server). So now for the ‘AMP’ part of the LAMP stack. This tutorial will assume that you already have Ubuntu 16.04 installed and that you are logged in to your Ubuntu server either directly or via SSH.
If you haven’t done so already, make sure you first update Ubuntu’s package manager so that it is up-to-date with the latest package listings. That can be done by running the following command:
sudo apt-get updateInstall Apache 2
First we will setup the Apache 2 web server. Apache 2 is the most popular web server on the internet and can be thought of as the swiss army knife of web servers as it can do most anything you need when it comes to web servers. Here we will get a basic Apache 2 web server setup so that we have something to serve our WordPress website.
Install Apache 2 with the following command:
sudo apt-get -y install apache2 apache2-utilsOnce Apache is installed you should be able to type the IP address of your server in your browser and see the following page which let’s you know Apache is installed correctly and running:

Install MySQL
MySQL is a very popular database engine, especially for websites. WordPress uses MySQL to store all of it’s data, so the next thing we need to do to is install the MySQL server.
To install MySQL, run the following command:
sudo apt-get -y install mysql-client mysql-serverDuring the MySQL installation it will show the following screen which will ask you to choose a “root” password:
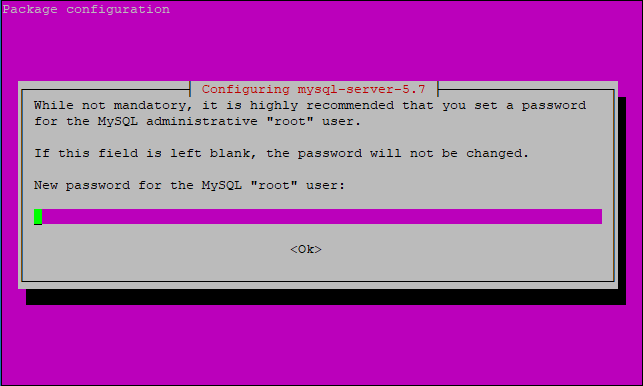
Setup MySQL
After you provide the password once and again to confirm it, the MySQL installation will continue until it is complete. Though MySQL is installed, you will now want to run the MySQL secure installation script to help secure your MySQL installation. This tutorial will not go in to detail on how to best secure MySQL, but I will provide some sensible default choices which will help improve the security of your MySQL installation as compared to the default setup you just performed. Execute the following command to secure your MySQL installation:
sudo mysql_secure_installationFirst it will prompt you for the root password you chose previously. Next it will ask if you want to use the password validation plugin. This is up to you. Next it will ask you if you want to change the root password. You may choose no. The next thing the wizard will ask you is whether you want to remove the ‘anonymous’ user, to which you should choose yes. The next question asks if you want to disallow remote MySQL logins using the root user, to which you should yes. Next it will ask you if you want to remove the ‘test’ database and again you can choose yes. Finally it will ask you if you want to reload the privileges table, which you will want to say yes. With that, the secure installation wizard will complete and your MySQL installation is ready to be used.
Install PHP
The last piece of the LAMP stack we need to install is PHP. PHP is a widely used scripting language for web development and it also happens to be the programming language that WordPress is built on. As such, we now need to install PHP along with other various PHP packages that are required to make our website operate.
To install PHP run the following command:
sudo apt-get -y install php7.0 php7.0-mysql libapache2-mod-php7.0 php7.0-cli php7.0-cgi php7.0-gdCreate The WordPress Database
You now have a working LAMP stack installed. Now that the basic software for serving your website is in place, you need to now create a database for WordPress to use. Execute the following command, which will prompt you for your MySQL root password and then will open up the MySQL console:
mysql -u root -pWhen the console has started you will see the MySQL console prompt which looks like:
mysql>The first think you need to do is create the database itself. You can call the database any name you like. Executing the following command will create a MySQL database called “wordpress”:
CREATE DATABASE wordpress;Create the WordPress Database User
If your database was created successfully below the command ran you should see a line starting with “Query OK”, which tells you that the command executed correctly. Now we need to create a database user for wordpress to use to connect to the database. I will use the arbitrary user name “wpuser”. You may use this name as well, but make sure replace the example password YOUR_PASSWORD_HERE with your own password. I recommend using a different password for the wpuser than the password you chose for the root MySQL user. Also note that the following user is restricted to logging in to MySQL from localhost. If you would like to be able to remotely log in to MySQL with this user you will need a different configuration which is beyond the scope of this tutorial.
Execute the following command to create your MySQL user:
CREATE USER wpuser@localhost IDENTIFIED BY 'YOUR_PASSWORD_HERE';Now that you have a database and a database user, you need to execute the following command to allow this user to connect to the database:
GRANT ALL PRIVILEGES ON wordpress.* TO wpuser@localhost;Now you must run the following command so that the current running instance of MySQL see the changes that you have made:
FLUSH PRIVILEGES;Finally run the following command to close the MySQL console:
exitDownload WordPress
You have finally installed all the software required to run WordPress. The only thing left is to install WordPress itself. We will be working out of your user’s home directory while downloading and installing the setup files. To make sure you are in your home directory run the following command:
cd ~Now execute the following command to download the latest version of WordPress using the wget utility:
wget http://wordpress.org/latest.tar.gzAfter WordPress has finished downloading you will need to extract the WordPress files. Run the following command to extract the files which will create the “wordpress” directory inside your home folder:
tar xzvf latest.tar.gzNow lets go to the newly created WordPress directory by running the following command:
cd ~/wordpressConfigure the WordPress Install
A sample WordPress configuration file is provided to you in this WordPress folder, but before you are able to use this file it must copied to the correct name that WordPress expects. Run the following command to create the properly named WordPress configuration file:
cp wp-config-sample.php wp-config.phpSecure the WordPress Installation
To help secure your WordPress installation, WordPress suggests that you use their secret-key service to generate secret keys for your configuration file. It may be helpful when copying these keys to make sure your SSH terminal window is maximized so they output doesn’t get word wrapped which can make copying more difficult. Run the following command which will help you generate random secret keys:
curl -s https://api.wordpress.org/secret-key/1.1/salt/This will output 8 lines that should be copied and pasted in to the wp-config.php file we created in the previous step. Copy those lines in to your clipboard. I use PuTTY for SSH and copying text in to your clipboard can be done in PuTTY by selecting the text with the mouse. If you use another SSH client you may need to look up how to copy and paste. Now that you have copied these secret keys you need to open the wp-config.php file to paste the secret keys in to it. Execute the following command to begin editing the wp-config.php file:
nano wp-config.phpFind the section in this file that contains the dummy versions of these settings. It starts with the line:
define('AUTH_KEY', 'put your unique phrase here');We want to replace these 8 lines with the secret keys generated for us by the WordPress secret key service. To this go to the first character of the first line in this section and paste in your settings that you copied to your clipboard previously (right click if using PuTTY). Then delete the dummy versions of these settings so that you ensure the generated versions of these settings is used.
Provide Your Database Credentials
Before closing this file you need to first provide the configuration file with your database settings so that WordPress knows how to connect to the database you created previously. Move up to the beginning of the wp-config.php file to where you see the following and replace the dummy values for database name, user name, and password with ‘wordpress’, ‘wpuser’, and what ever password you chose for wpuser. The database settings section will look like the following:
/** The name of the database for WordPress */
define('DB_NAME', 'database_name_here');

/** MySQL database username */
define('DB_USER', 'username_here');

/** MySQL database password */
define('DB_PASSWORD', 'password_here');
We are done editing the wp-config.php file. Type CTRL+X to exit the nano editor then hit Y and the Enter key to save your changes.
Copy The Files
While you have extracted and configured the WordPress files in the wordpress folder under your home directory to make the process easier, this is not where you actually want to store these files. Run the following command to copy these files to the Apache document root:
sudo rsync -avP ~/wordpress/ /var/www/html/Setup Permissions
To make sure Apache is able to properly execute the files that make up your WordPress website you will need to change the permissions for the Apache document root folder. Note that in the command below the user that I will be using on my Ubuntu machine is called ‘ubuntu’. If your user name is different then modify the command accordingly. Execute the following command to fix these permissions:
sudo chown -R ubuntu:www-data /var/www/html/*Configure The WordPress Uploads Folder
Now you need to create the upload directory where file uploads in WordPress will be stored. Run the following command to create the uploads directory:
mkdir /var/www/html/wp-content/uploadsThe permissions you assigned to the Apache document root folder and it’s sub-directories are actually to restrictive to allow the web server to be able to write files to the uploads directory you just created. To correct this run the following command which will give less restrictive permissions specifically to the uploads directory:
sudo chown -R :www-data /var/www/html/wp-content/uploadsCleanup
So that Apache uses the correct index file, before setting up your WordPress installation you need to remove the default Apache 2 page. To do that run the following command:
rm /var/www/html/index.htmlRestart Apache
The last step before performing the WordPress setup is to restart the Apache server. To do so run the following command:
sudo service apache2 reloadWelcome to WordPress
Your WordPress installation should now be running and ready for you to perform the final setup steps. To perform the rest of the WordPress setup go to your browser and type in the address to your new website such as:
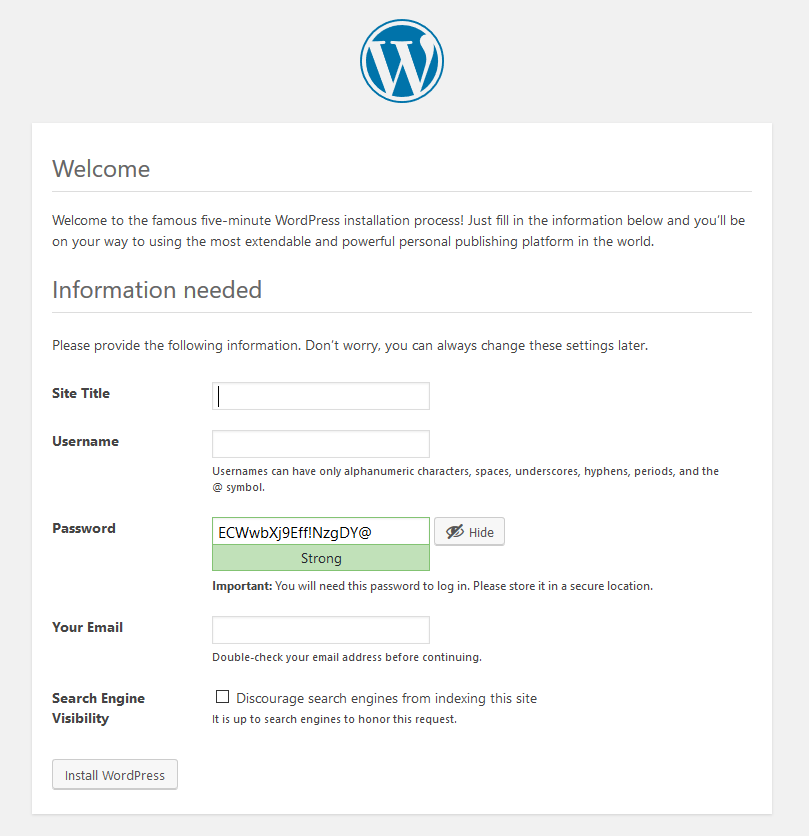
http://YOUR_DOMAIN_OR_IP_ADDRESSFirst you will be presented with a WordPress setup page that prompts you for a title for your website, your username, your password, and your email address. Please note that if your server is accessible to the public then you will want to put in your information and complete this step right away so that no one else is able to fill out the form instead and gain control of your website.
Success
After a few moments the WordPress setup process will complete and you will be presented with the following screen that informs you that the setup succeeded.
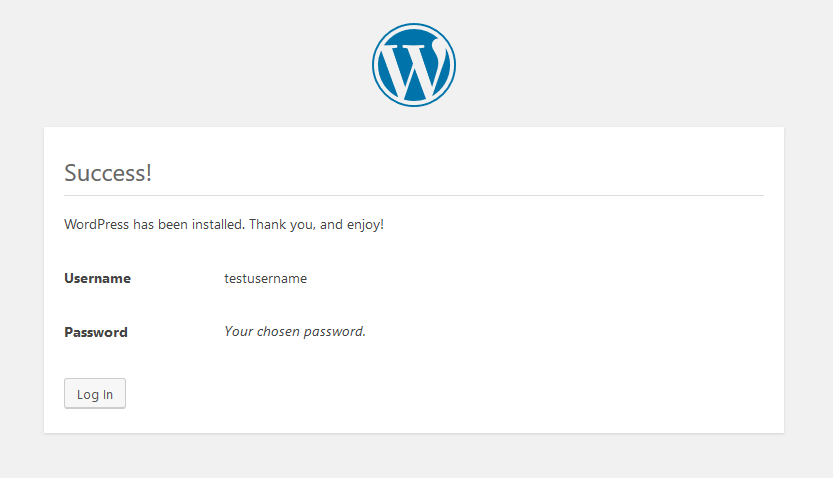
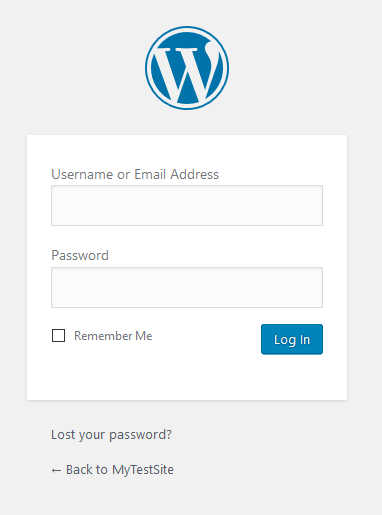
Time to Log In
From here click the “Log In” button to log in to your WordPress administration back end. You will be prompted for the User Name and Password that you provided on the WordPress setup page.
The Dashboard
Once you are logged in you will be presented with the WordPress dashboard shown below. While WordPress is easy to use, this tutorial blog post is already rather long and covering everything in the administration section of your new WordPress website is beyond the scope of this post. We will have to save that for another time. Don’t be afraid to click around and explore. Most things are fairly self explanatory and easy to figure out. Also note the url of this administration dashboard is of the format:
http://YOUR_DOMAIN_OR_IP_ADDRESS/wp-admin/You may want to bookmark it to make it easy to update your website in the future.
Time to See Your Website
Now type in the base url of your website again and you will see your new website as shown below. WordPress comes with a few themes available to your buy default and as I previously state you are free to create your own custom theme if you want complete control over the look or download a theme from the WordPress marketplace. You may also notice that at the top of your homepage you can see the same WordPress bar that was at the top of the WordPress dashboard. This helps you quickly switch back and forth between the website and the administration back end. It also allows you to do things like edit the page you are on. If you click on your user name in the right and corner you can logout and the website will appear like it would to other visitors without this bar.
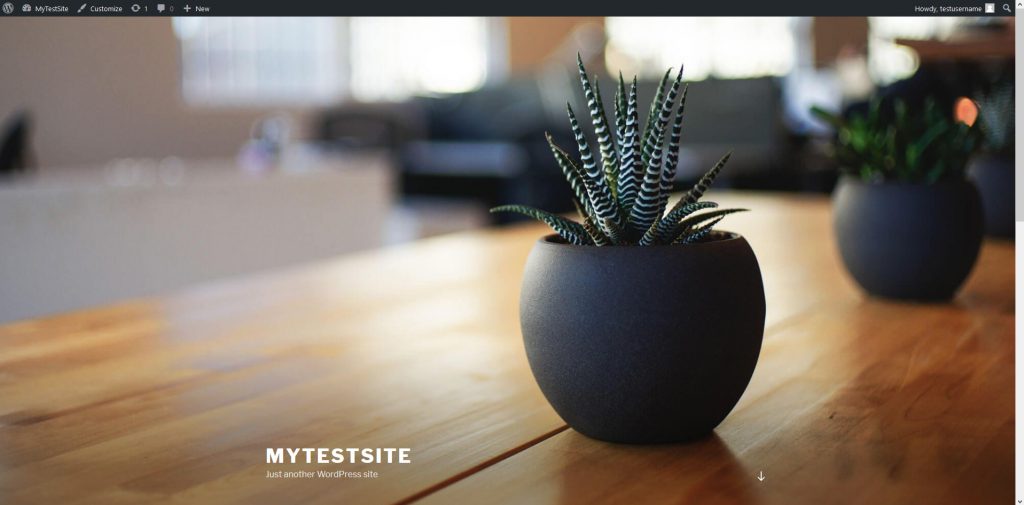
Conclusion
I would you say “Now you’re done”, but unless you are happy with a website with no content and a picture of a cactus on a table then you are just getting started. In the next post on creating a website using WordPress, I will get in to how to adjust your theme and add content to your site.